Drying fruit at home: plan a repeatable first batch
Choose fruit, plan uniform preparation, use a researched method and organize conditioning and storage after drying.

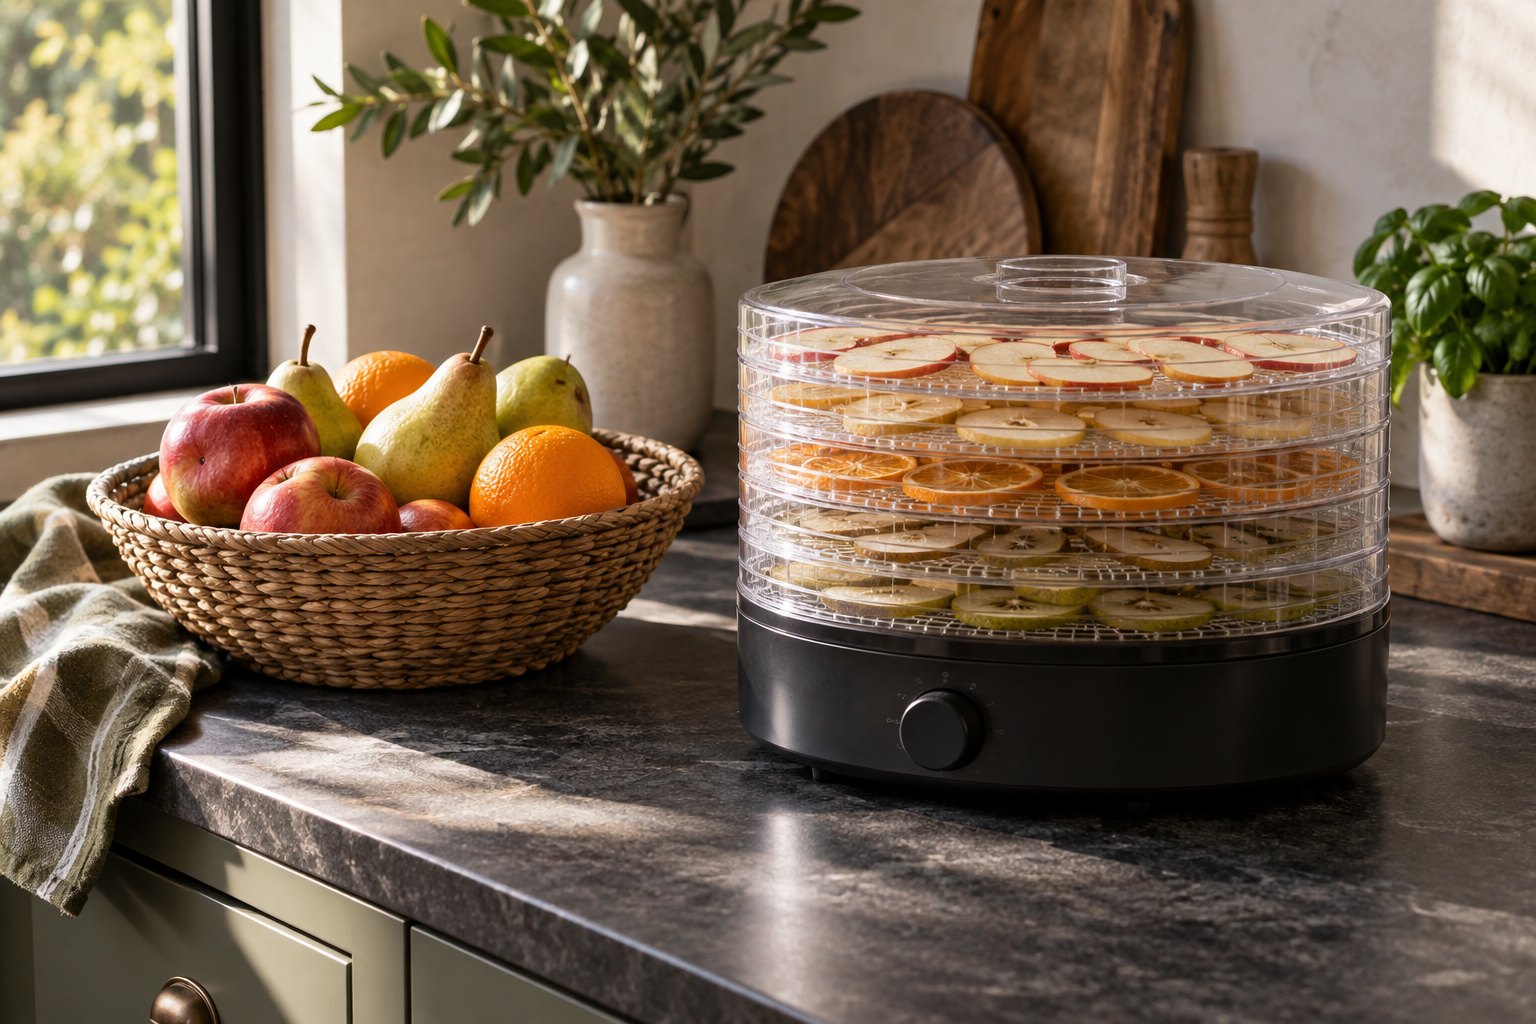
Start with one fruit and one cut, pretreat it the way a published extension method says, and dry it at the temperature that method gives until a cooled piece passes the bend check. Then condition and store it before trying the next fruit.
A good first fruit batch is a small, specific one. Pick one fruit and one cut, read a university-extension method for it, and leave time for the prep and for what happens after the drying. Fill every tray with a different fruit and you won't know what worked; keep it simple and you end up with a process you can repeat every autumn.
Our rankings for this: fruit leather dehydrators, best food dehydrators and dehydrator sheets and mesh mats.
Affiliate disclosureAs an Amazon Associate we earn from qualifying purchases made through links on this page. Commissions never change our ratings.
Choose the fruit and its eventual use
Decide whether the result is intended as a snack, an ingredient for oatmeal or something you will rehydrate for cooking. That purpose helps you choose a practical portion and packaging plan. It does not change the preservation requirements, but it can prevent you from making a large batch that nobody uses.
Select sound fruit suitable for the method. Colorado State University Extension advises using ripe fruit and rejecting decayed or moldy produce; drying does not upgrade poor ingredients. Buy or harvest only what you can prepare promptly in your available space. When learning, keep varieties separate in your notes so you can compare texture and handling without mixing several changes into one trial.
Source: Colorado State University Extension: Drying Fruits.
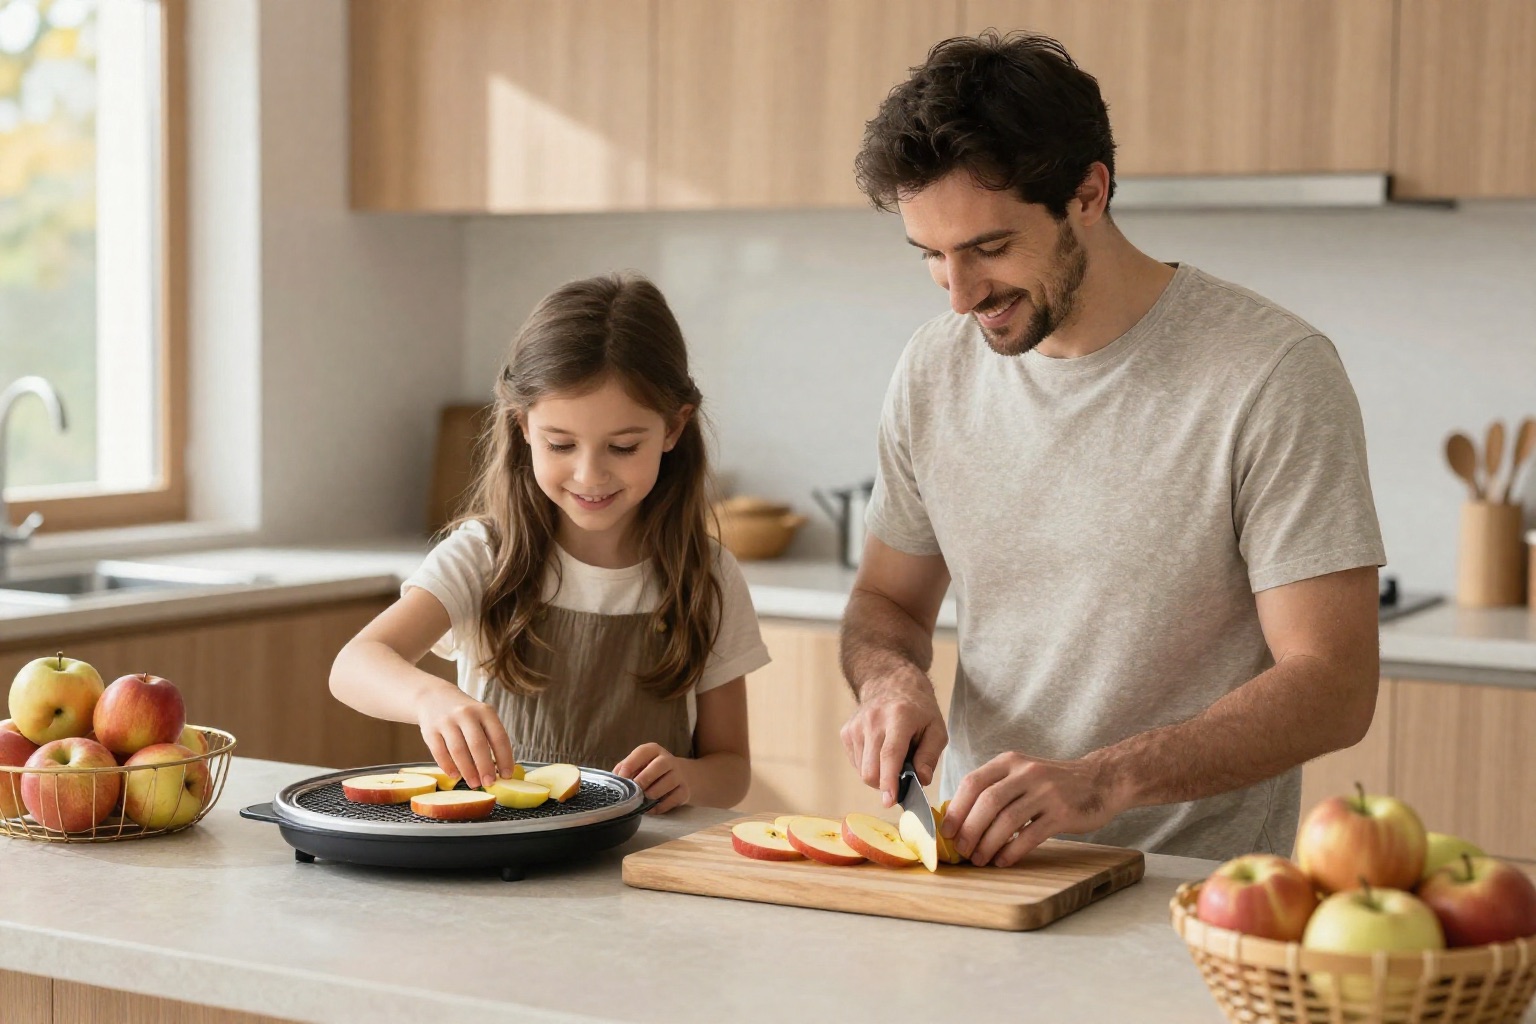
Read pretreatment directions before slicing
Fruit instructions may call for a specific pretreatment. Follow the selected extension method’s ingredients, concentration and timing rather than inventing a splash of lemon juice or substituting an unrelated powder. Pretreatment is part of the process, not simply a styling choice for a prettier photograph. Do not translate a canning recipe into dehydrator instructions.
Set out the knife, board, waste bowl and any required treatment container before beginning. This organization reduces the temptation to leave a partly prepared batch waiting while you search for supplies. If you have not chosen equipment yet, our dehydrator selection guide explains why usable tray area matters more than an isolated tray count.
Build an even, traceable layout
Use the cut and thickness described by your source and keep the pieces as consistent as practical. Colorado State’s fruit guidance uses a single-layer layout and explains that piece size, humidity and air circulation affect drying. Its food-specific table is more useful than assuming one duration works for all fruit.
Set a prepared tray beside an empty one and check how much room your batch actually needs. Measure the layout with its required spacing if you want to use the tray planning tool. The tool estimates space only: it does not determine safe loading, food weight or processing time. Label your notes with the fruit, cut and number of trays so the next shopping decision has a concrete reference.
Source: Colorado State University Extension: Drying Fruits.
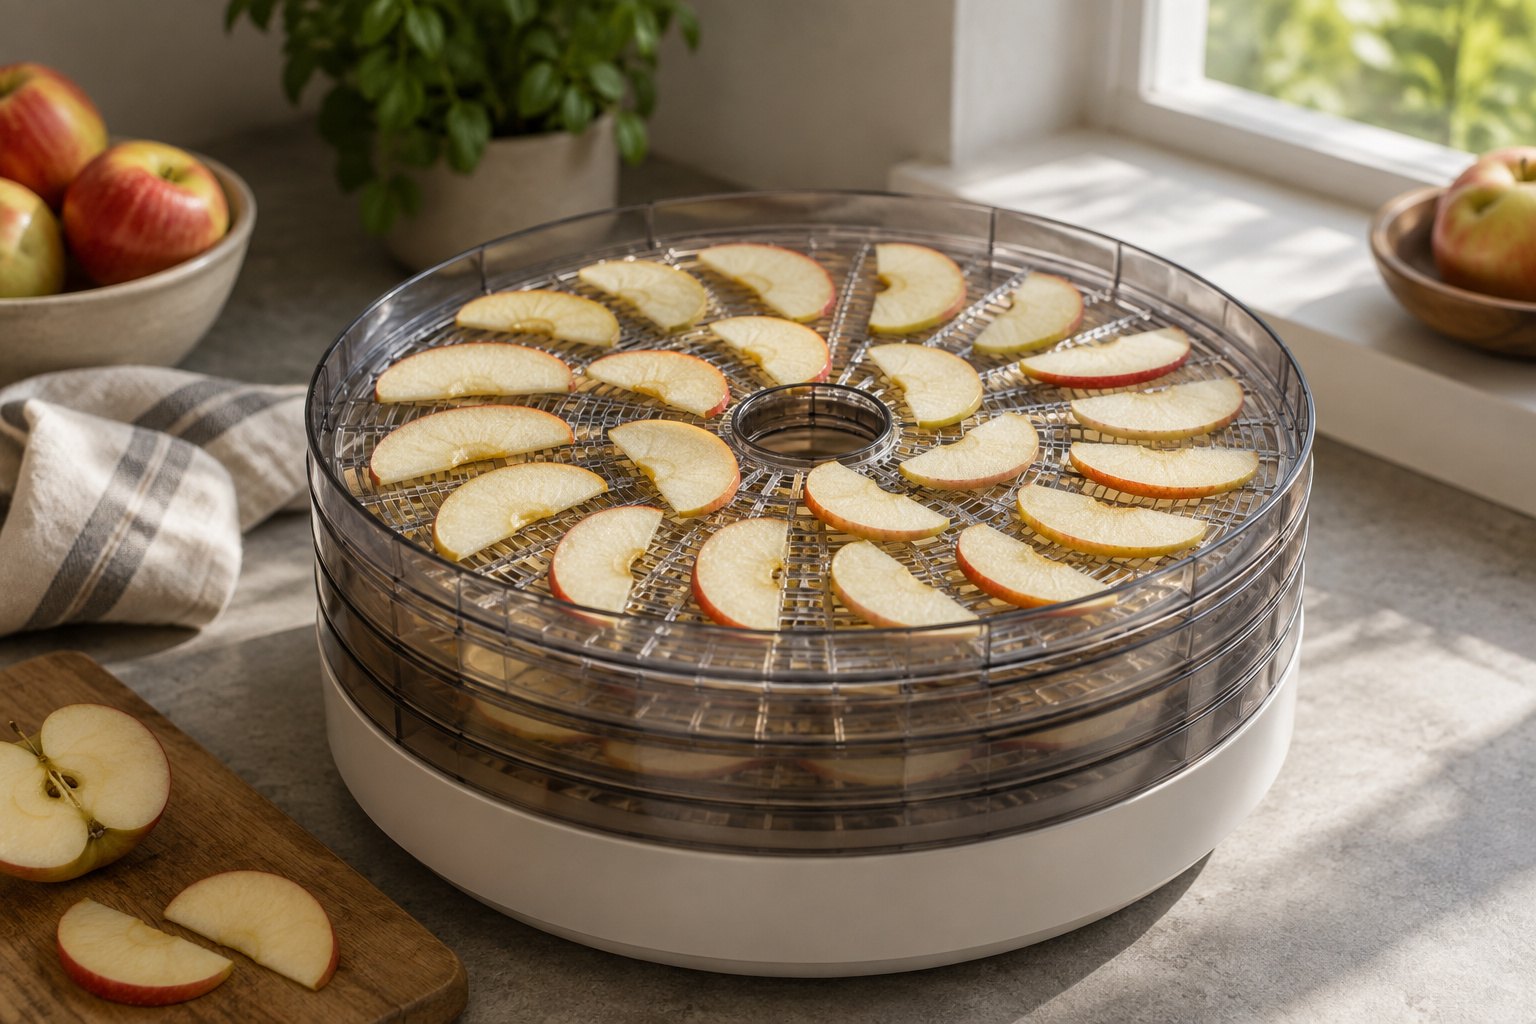
Inspect samples according to the method
Choose a schedule that allows you to check the batch, especially when using the appliance for the first time. Follow the manual for opening, removing and replacing trays. Keep utensils used for inspecting the finished food separate from dirty preparation equipment. The source’s dryness description should guide your checks rather than a desire to finish at an exact clock time.
Avoid making a claim about the whole batch from one convenient piece at the front of one tray. Follow the method’s sampling and cooling directions, and inspect pieces that represent your actual cut. See temperature and safety for the difference between an air setting and the condition of the food. Record observations without inventing a measured moisture percentage.
Allow for conditioning and packaging
NCHFP describes conditioning cooled dried fruit in loosely filled, closed containers for 7 to 10 days, with daily shaking and checks for condensation. Its instructions call for additional drying when condensation appears. Follow that complete process rather than putting warm fruit directly into final snack packages and assuming the job is finished.
Reserve space for those containers and label them so they are not mistaken for a finished pantry batch. This small planning step is easy to overlook when calculating the machine’s capacity. Our storage guide explains how to organize finished batches and check them later. Moldy food should be discarded; conditioning is not a way to rescue spoiled fruit.
Source: NCHFP: Packaging and Storing Dried Foods.
Use the first batch to improve your workflow
After the batch is complete, evaluate the workflow rather than awarding the appliance a performance score.
- Was the fruit easy to slice consistently?
- Could you reach the trays?
- Did cleanup require more time than expected?
- Did the final package size match what your household actually eats?
- These observations can guide your next batch without changing the researched preservation method.
Keep a short record of the source URL, fruit variety, preparation date and any unresolved questions. If the result is unsatisfactory, change one practical variable within the method next time, such as batch size or your organization of tools. For process questions, ask your local extension service. A product upgrade is not automatically the answer to a preparation problem.
For measured batch-space planning, use the tray layout estimator. Its result is a space estimate only, not a processing time or safety approval.
| Section | Key point |
|---|---|
| Choose the fruit and its eventual use | Select sound fruit suitable for the method. |
| Read pretreatment directions before slicing | Fruit instructions may call for a specific pretreatment. |
| Build an even, traceable layout | Its food-specific table is more useful than assuming one duration works for all fruit. |
| Inspect samples according to the method | Record observations without inventing a measured moisture percentage. |
| Allow for conditioning and packaging | Its instructions call for additional drying when condensation appears. |
| Use the first batch to improve your workflow | Could you reach the trays? |
Our rated picks
Done reading? Here are the three best-rated picks from our fruit leather dehydrators ranking, scored on buyer ratings, review volume and specs.

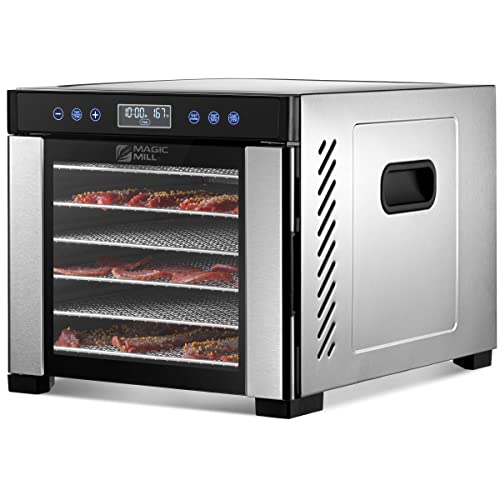

Product images: Amazon listings
Frequently asked questions
What is the easiest fruit to dry in a dehydrator?
Apples and bananas are the usual first batches: easy to slice evenly and forgiving. Grapes and blueberries need their skins cracked in boiling water first (NCHFP calls it checking), so we would keep them for a second batch.
Do I need to pretreat fruit before drying?
Light-coloured fruit such as apples darkens without it. Extension methods use an ascorbic acid or citric acid dip; follow the one for your fruit.
How do I know when dried fruit is done?
A cooled piece should be leathery and pliable with no beads of moisture when you tear or squeeze it. Then condition it in a jar for about a week.