How to clean a food dehydrator without guessing about its parts
Separate removable food-contact pieces from electrical components and follow the exact model’s care instructions.

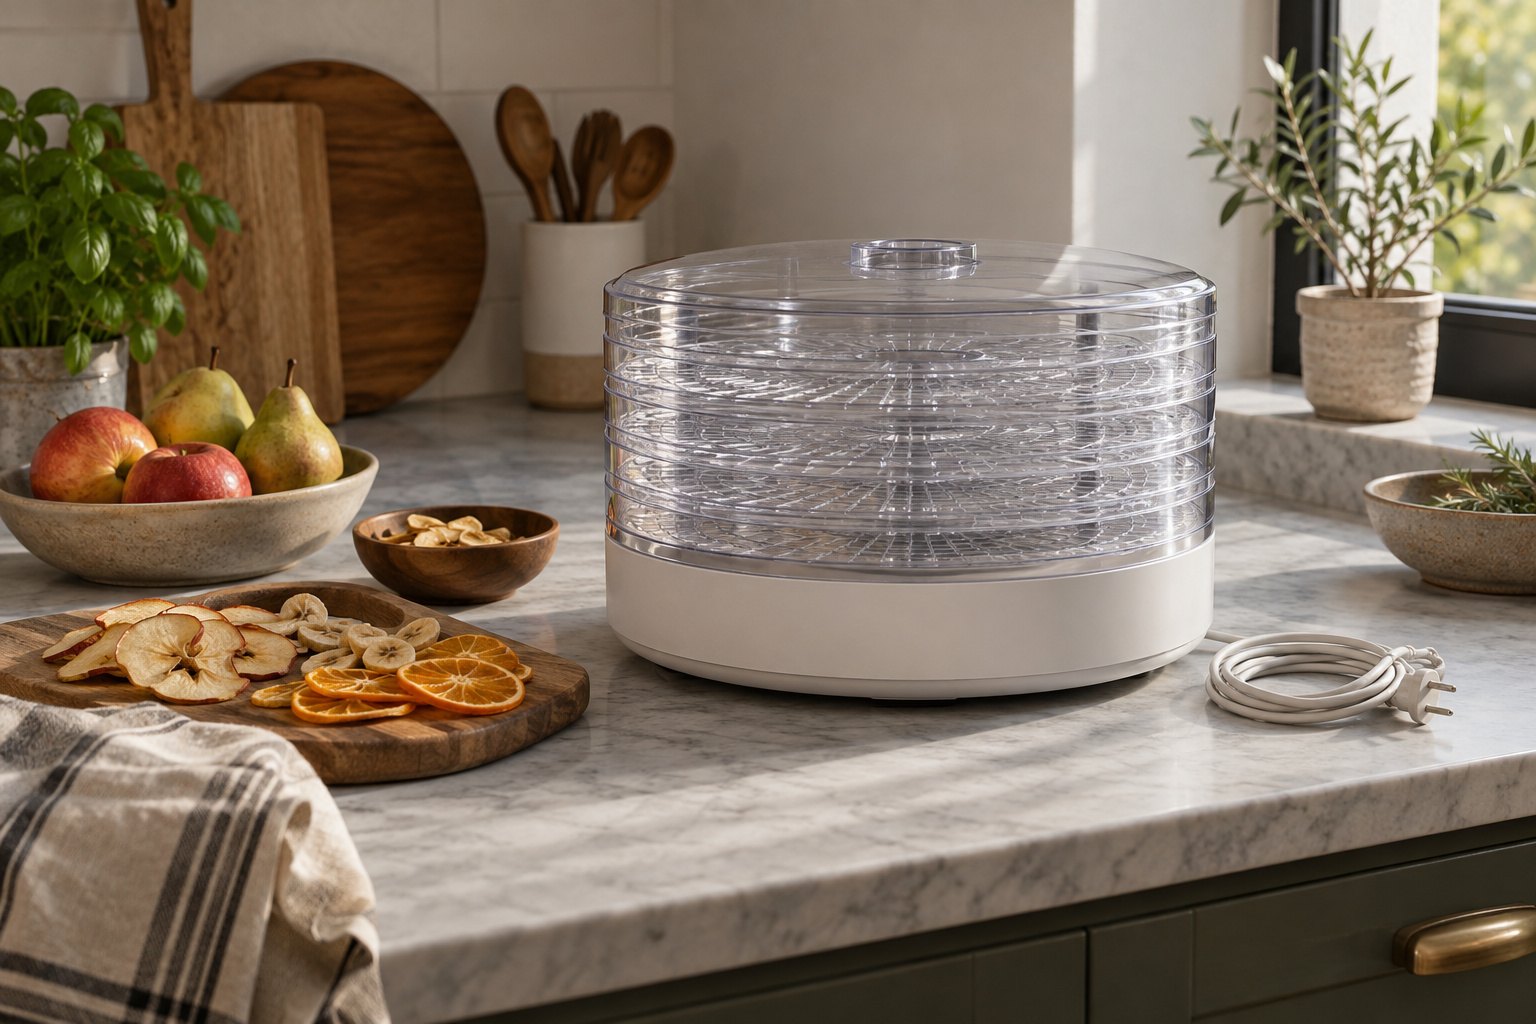
Unplug and cool the machine, wash the trays and sheets the way the exact manual allows (soak stuck-on fruit, hand-wash mesh and roll sheets), and only wipe the powered base with a damp cloth. The dishwasher is fine only for the parts the manual names.
Cleaning a dehydrator starts with knowing which part is which, not with the choice of soap. The racks, a flexible liner, the door and the powered base can each have their own care rules. Find the exact manual and sort those instructions first. This guide gives you a practical routine and the questions to settle; it doesn't authorize soaking, the dishwasher or a chemical cleaner for a machine whose manual you haven't read.
Our rankings for this: dishwasher-safe trays and stainless steel dehydrators.
Affiliate disclosureAs an Amazon Associate we earn from qualifying purchases made through links on this page. Commissions never change our ratings.
Identify what can be removed and washed
Read the care section for your model, including any first-use procedure, cooling requirement and electrical precautions. Follow its directions for switching off and unplugging before cleaning. Determine which parts are user-removable and which surfaces are cleaned in place. Do not dismantle a fan assembly or expose electrical parts just because crumbs are visible nearby.
Create a small list of the parts and their allowed cleaning methods. This is particularly helpful when replacement accessories came from a separate maker. The liner’s directions may differ from the rack’s instructions. Our tray and liner guide explains why shared dimensions or a shared brand do not establish identical materials or care requirements.
Source: COSORI: User manuals - select the exact model.
Clear a workable cleaning area
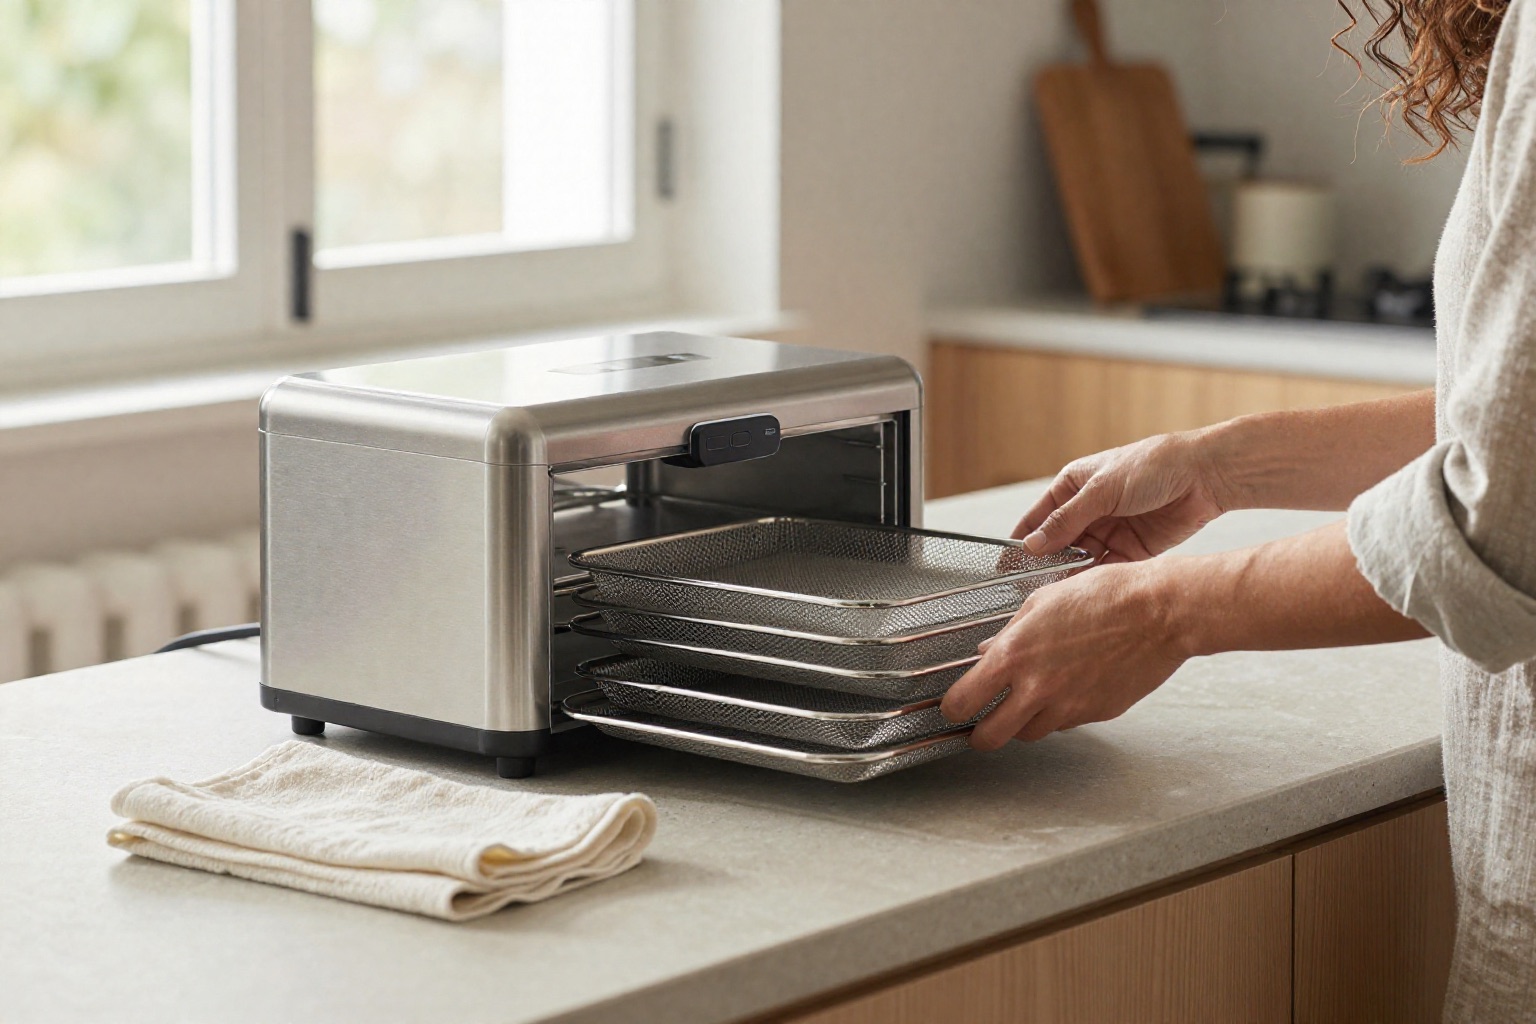
Prepare a place for dirty removable parts and a separate place for cleaned parts. Keep electrical components away from washing water and follow the manufacturer’s procedure for their surfaces. Check that a large tray fits your sink before forcing or bending it. If the specified cleaning process needs a different container or tool, have it ready rather than improvising halfway through.
Remove food from the work area and keep packaging for finished batches separate from used preparation tools. Think about where the parts will dry without touching the dirty side of the counter. The aim is a clear sequence you can repeat after each session, not a crowded pile in which cleaned and uncleaned surfaces become indistinguishable.
Cleaning and sanitizing are different steps
University of Minnesota Extension distinguishes removal of residue and washing from sanitizing a food-contact surface. Its sequence includes cleaning, rinsing and the appropriate sanitizing step, followed by drying as directed. Removing visible food is necessary work; spraying a product over residue is not an interchangeable shortcut.
Only use treatments that are appropriate for the appliance part and intended food-contact use.
- Follow the product label for dilution, contact time and any rinse requirement, together with the equipment’s material restrictions.
- Do not invent a universal bleach recipe for every tray material.
- If those instructions cannot be reconciled, ask the manufacturer for a suitable procedure before using the chemical on the component.
Source: University of Minnesota Extension: Sanitizing equipment and food contact surfaces.
Treat difficult residue as a method question
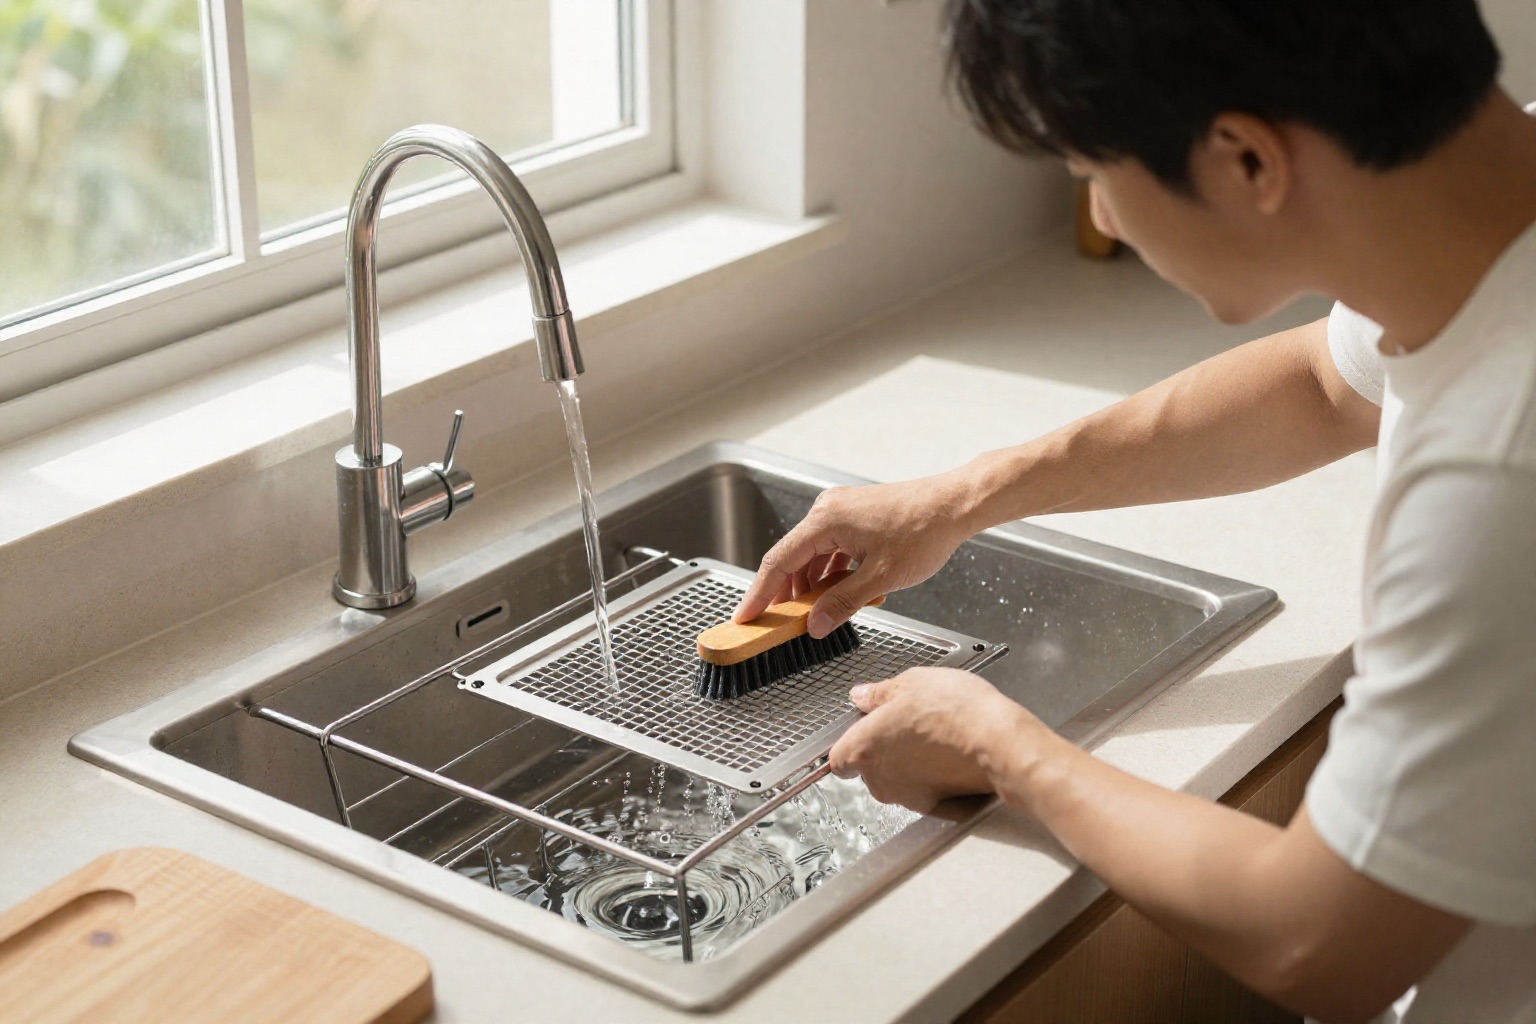
If fruit residue sticks to a sheet or food remains in a rack intersection, check the permitted soaking and tool instructions. A harsh scraper may damage a coating or flexible surface, so the fact that it removes the residue is not proof it is an acceptable cleaning method. Avoid transferring a technique for a metal kitchen pan to an accessory of unknown composition.
For the next session, review whether you used the correct approved surface and loading arrangement for the food. The fruit-leather guide helps distinguish a solid puree sheet from an ordinary mesh rack. Better preparation can make cleanup more manageable, but do not add oil, a coating or a homemade liner unless the method and manufacturer allow it.
Source: COSORI: User manuals - select the exact model.
Inspect parts before reassembly
Once the parts are cleaned according to their instructions, inspect them for damage and make sure they are ready for reassembly. Check the areas the manufacturer identifies, including supports, seals or other user-serviceable pieces. A crack, damaged coating or poorly seated tray is a reason to consult the maker rather than invent a food-contact repair.
Return components to the correct positions and follow the required drying instructions before storage or operation. Do not hide remaining moisture by stacking parts into a closed appliance prematurely. University of Minnesota’s sanitation guidance stresses following the chosen treatment’s final rinse or drying directions; those requirements should stay attached to the cleaning procedure you actually used.
Source: University of Minnesota Extension: Sanitizing equipment and food contact surfaces.
Keep a routine that matches your foods
Write down the care procedure and where its instructions are stored. If you alternate between fruit, herbs and meat projects, revisit the relevant handling and sanitation requirements each time. A quick wipe that seemed sufficient after one activity should not become an assumed procedure for every food or every component.
Read the jerky safety guide before using the machine for meat, and plan the final cleanup as part of the session. Note unresolved issues, such as a replacement tray whose material is unclear, before the next batch begins. A useful routine ends with a clean, correctly assembled appliance and instructions you can find again, rather than an unsupported claim that the machine has been sterilized.
For measured batch-space planning, use the tray layout estimator. Its result is a space estimate only, not a processing time or safety approval.
| Section | Key point |
|---|---|
| Identify what can be removed and washed | The liner’s directions may differ from the rack’s instructions. |
| Clear a workable cleaning area | Check that a large tray fits your sink before forcing or bending it. |
| Cleaning and sanitizing are different steps | Do not invent a universal bleach recipe for every tray material. |
| Inspect parts before reassembly | Check the areas the manufacturer identifies, including supports, seals or other user-serviceable pieces. |
| Keep a routine that matches your foods | For measured batch-space planning, use the tray layout estimator. |
Our rated picks
Done reading? Here are the three best-rated picks from our dishwasher-safe trays ranking, scored on buyer ratings, review volume and specs.

Product images: Amazon listings
Frequently asked questions
Can you put dehydrator trays in the dishwasher?
Only if the manual of your exact model says so. The COSORI manuals we cite allow their stainless trays but keep the mesh screen and the fruit roll sheet out.
How do you get sticky residue off dehydrator trays?
Soak the trays in warm soapy water, then use a soft brush. Avoid abrasive pads on plastic and on non-stick sheets.
How do you clean the base of a dehydrator?
Unplug it, let it cool and wipe it with a damp cloth. Never submerge the base or let water into the fan or the heater.
Sources and further reading
- COSORI: User manuals - select the exact model
- University of Minnesota Extension: Sanitizing equipment and food contact surfaces